October 10, 2026



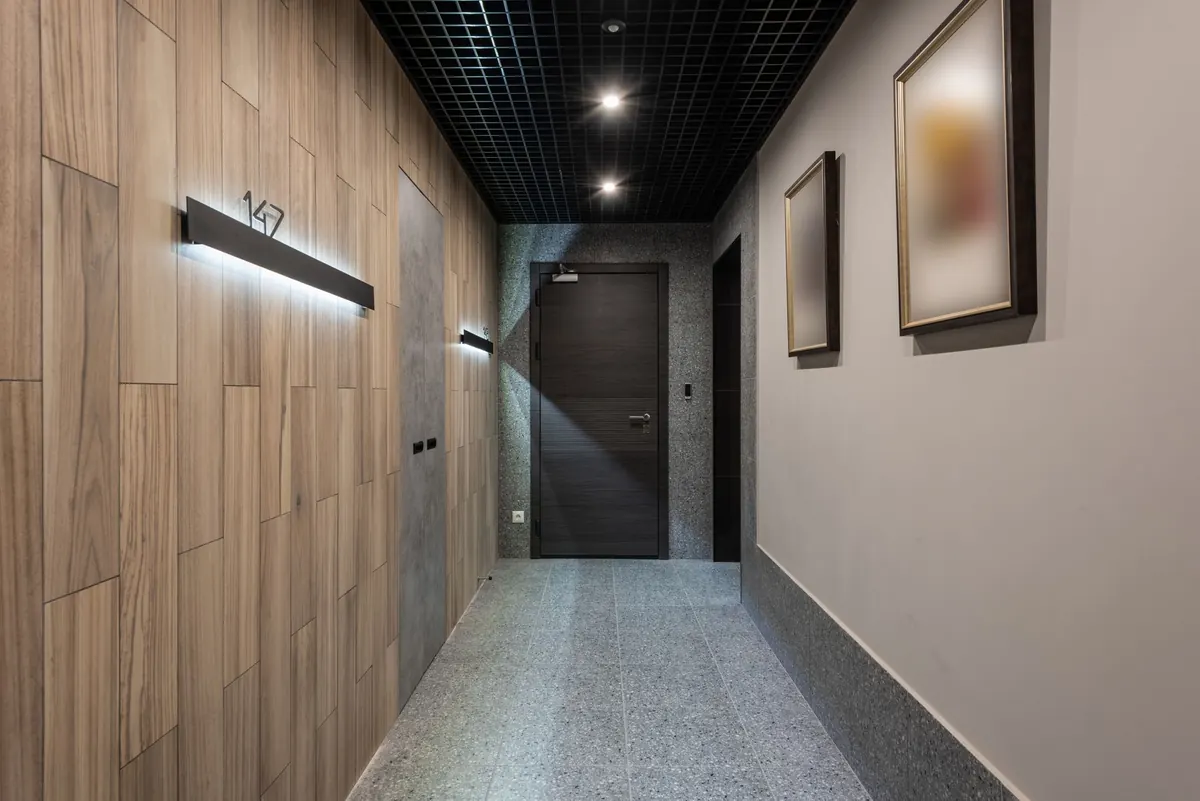
There's a hole behind the radiator where the old bracket pulled out, and the wall around it is a patchwork of filler, cracked paint and something that might once have been plaster. You've watched enough tutorials to know the answer involves a bag of powder and a trowel. But which powder, and does this wall want a sheet of board instead?
Choosing between traditional wet plaster and plasterboard for a repair isn't really about what's fashionable. It comes down to what's already on the wall, how big the damaged area is, and whether the new surface has to blend into the old one.
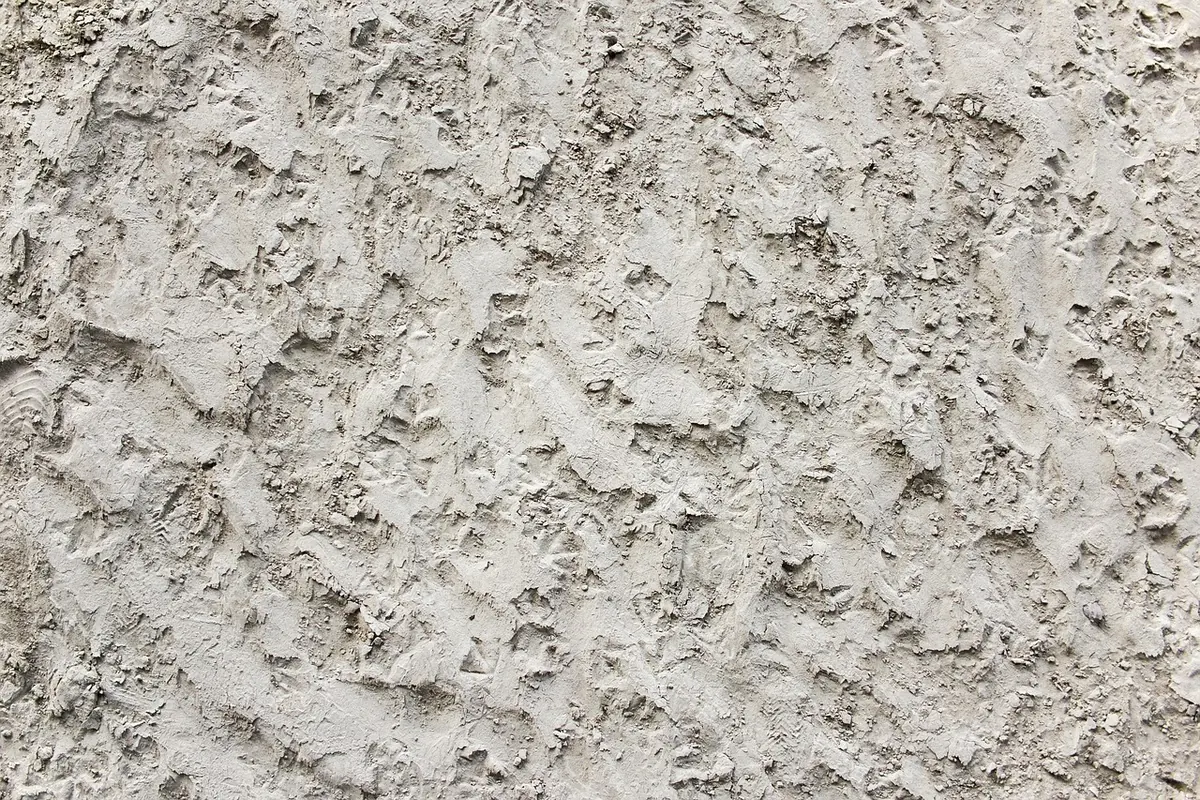
Wet plaster is mixed on site from powder and water. In modern homes that usually means a gypsum finishing plaster, applied with a trowel in one or more coats, hardening as it sets. In older properties it might mean lime putty mixed with sand, or a lime-based repair mortar. Either way, the plaster becomes part of the wall rather than sitting on top of it.
Plasterboard is a gypsum core wrapped in paper, usually 9.5mm or 12.5mm thick. It's fixed with dot-and-dab adhesive, screwed to battens or studs, or bedded on bonding compound. Once it's up, you either tape and fill the joints, or skim the whole sheet with a thin coat of plaster to get a seamless finish.
There's a third option worth remembering: ready-mixed filler and patching plaster. For anything up to a few centimetres across, this is often all you need, and it's a far better match for a small hole than cutting in a piece of board.
Neither material is expensive in itself. A bag of finishing plaster and a small sheet of plasterboard both sit in the same modest bracket at a builders' merchant. The real difference is labour and time, and that's where your money goes.
Board goes up quickly, which is why drylining took over on new-build interiors. Wet plaster takes longer, demands more skill, and needs the right conditions to dry. For a small patch, though, both are dwarfed by the cost of getting anyone out to do it, or by the time you spend yourself.
Things that quietly push a repair over budget:
A wet-plastered wall has a dense, slightly soft surface with a gentle undulation to it. Plasterboard is dead flat and sounds hollow when you tap it. Taped and filled board, done well, looks perfectly acceptable once painted, though in raking light you can sometimes spot the joints. Skimmed board is very hard to tell apart from wet plaster.
The bigger issue is flatness. Old walls are rarely true. Board fixed across a bowed wall creates hollows, and thin sheets can flex or pop where they bridge a dip. Wet plaster can be built up in layers to follow the wall's own shape, which is one reason it survives so well in period properties.
Plasterboard has one clear advantage: you can buy it backed with insulation. On a cold solid wall, an insulated board of 25–50mm can make a room noticeably warmer and reduce condensation forming on the wall surface. The trade-offs are real, though. You lose floor space, skirting and sockets may need moving, window reveals get deeper, and rigid board pressed onto an uneven wall can leave voids behind it.
Lime plaster lets moisture move through it, so a solid brick or stone wall can dry outwards. Gypsum and plastic-based paints don't. Seal a damp-prone solid wall with the wrong materials and the moisture will find somewhere else to go, often upwards into the timber or out through a neighbouring wall.
Never plaster over a damp patch until you know why it's damp. Leaking gutters, failed rainwater goods, bridged damp courses and high ground levels all cause problems that plaster only hides — for a while.
If damp is involved, get a qualified surveyor or damp specialist to look at the cause before anyone picks up a trowel.
Match the existing finish. That single rule settles most arguments. Scrape a small area and look at what comes away: lime plaster is softer and chalkier, often paler and more granular. Gypsum is harder and denser. Patching lime with gypsum, or the other way round, usually ends in a crack along the join, because the two materials move and dry at different rates.
For a repair that has to disappear:
In a period property, use a lime-compatible repair mortar rather than gypsum. It behaves like the wall around it, which is exactly what you want.
Turn the power off if you're working near sockets, and check for cables and pipes before you cut or drill. New plaster and filler need to be fully dry before painting, then sealed with a mist coat or the paint will blister and flake. Don't try to sand wet plaster; you'll ruin the surface and your paper.
Be honest about scale. A patch the size of a dinner plate is a weekend job. Anything much bigger, and any ceiling, is usually better handed to a plasterer — the tools and the learning curve cost more than the materials, and a poor join will be visible every time the light hits it. If the damage was caused by water, fix the source first. Plaster is the last step in a repair, not the first.
Photo: Pexels / Pixabay
Spruce up your home with wiring and renovation advice..
Copyright © 2026 Spruce Wire. All rights reserved. Spruce Wire.